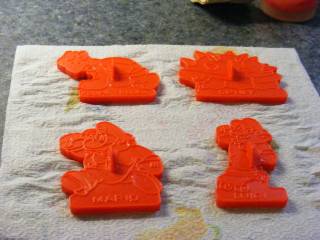
On one of my recent trips to the thrift store, I came across a package of Super Mario Bros. themed cookie cutters.
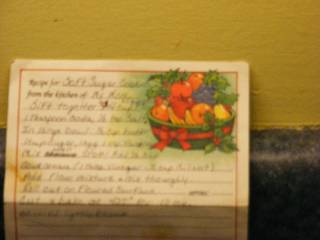
They even came with a recipe on the package for ‘delicious sugar cookies’, but it didn’t look like it was going to be that tasty, so I convinced my mom to divulge her secret recipe for sugar cookies that are actually delicious.
If you want to follow along at home, here’s what you’ll need:
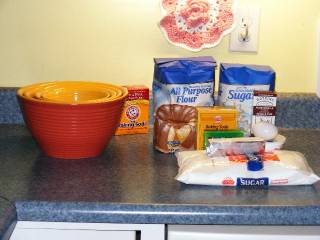
1 package of Super Mario Bros. cookie cutters (you can substitute other shapes if you must)
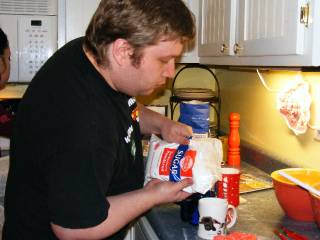
3 1/4 cups of All Purpose flour
1 teaspoon of baking soda
1/2 teaspoon of salt
1/2 cup of butter (or one stick)
1 cup of sugar
1 large egg
1 teaspoon of vanilla
1 cup sour cream
Sift the flour, baking soda, and salt together in a bowl and set aside. Then in another, larger bowl, combine the butter, egg, vanilla, and sugar and mix thoroughly. Once all of the ingredients are combined, stir in the sour cream. Then slowly add the flour to the wet ingredients, about a cup at a time. Make sure the flour is completely integrated before adding more.
About this point the mixture got a little drier than we thought it should be, so we added about 3 oz. of Milnot to loosen it up (you could also use your favorite evaporated milk product).
Once everything is combined, the dough should have the consistency of slightly loose Play-Doh, and it’s going to be very sticky.
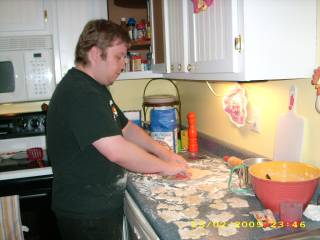
Now, lightly dust your countertop (or favorite dough-preparation surface) with flour and grab a roughly softball-sized lump of dough. Drop it in the middle of the counter and dust the top of the dough with more flour. Then roll it out until it’s about 1/8” thick.

Then, dip your cutters in flour, shake them off, and start cutting. Cut straight down, give a wiggle and lift.
They might take a little tapping on the counter to liberate the cookies from their cutters.
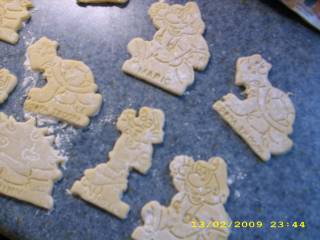
Place them gently on a cookie sheet (since they’ve got flour on the bottom, they shouldn’t stick) and then toss them in the oven you had preheated to 320°F and let them go for about 12 minutes or until lightly browned.
Remove from the oven, let them cool, and start making icing.
For the icing, you just throw some confectioner’s sugar into a cup of your choice and add a little bit of warm water, it’s hard to say exactly how much since we didn’t really measure, but you want to add just enough water so that the sugar dissolves into a slightly runny paste (pro tip: it’s going to take far less than you think). Stir in a little food coloring to get whatever colors you want since you probably don’t want clear. Since we’re dealing with Mario cookies here, we just stuck with the basics, red, blue, green, and yellow.
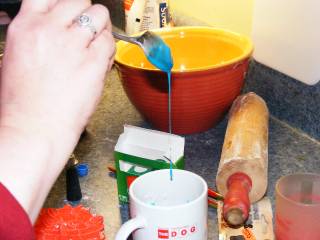
Once you have the colors that you want, just use little paintbrushes to apply the icing to the cookies. You could also use spoons to dribble it on, but brushes give you a little finer control.

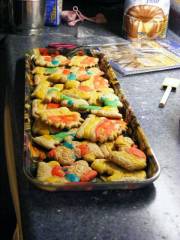
Then you just decorate the cookies however you like, and give the icing some time to dry. How long it will take will kind of be determined by how much water you used. Thicker icing (less water) will dry slightly slower than thinner icing (more water).
Once dried, put them on a serving tray of your choice.
And then watch for someone to attempt to make off with the whole batch while your back’s turned.
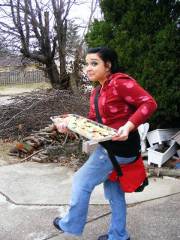
Whew! That was a close one!